How to Install

Quick Guide

Inside the Roll

Unrolling

Peeling Off

Opening

Remove backing

Closing Corner

Inside the Roll

Unrolling

Peeling Off

Opening

Remove backing

Closing Corner

Surfaces

Painted Wall

Wood

Glass

Gypsum

MDF

Acrylic

Chalk board

White board

Choose the Functionalities and Size you require

WETTRACT comes with a glue backing (Except WETTRACT MB & WETTRACT Eazy) so that it can be easily applied on Walls, Ply, Glass, Board, Partitions, Wood, Acrylic, MDF, Wood or any smooth surface by just peeling the protective layer at the back & placing it precisely where you want it to be. It is a practical solution for transforming a room without spending too much or undertaking a major makeover into a brain storming canvas. WETTRACT  is also ideal for those who live in rented homes and need to cover the walls to make the home look neat without going through the process of painting the walls with whiteboard paint or magnetic paint.

Read More…

  • Choose WETTRACT D1 for just writing & erasing on smooth whiteboard anywhere.
  • Choose WETTRACT DT for just writing & erasing on your chosen colour & get a marker board wherever you want.
  • Choose WETTRACT DM for just writing & erasing on Matte whiteboard anywhere.
  • Choose WETTRACT D2 for putting your magnets along writing & erasing on a smooth whiteboard just like a magnetic whiteboard anywhere.
  • Choose WETTRACT D3 for attracting your magnets, writing & erasing along projection friendly matte whiteboard just like a matte magnetic whiteboard anywhere.
  • Choose WETTRACT MB for putting not only Magnets but the Whiteboard on any magnet attracting surface along writing & erasing just like your easily movable magnetic whiteboard.
Based on the measurements, one can purchase the WETTRACT and the Accessories required along for use. It’s preferable to buy a set of Ezmark Marker & Foam Duster along to write & erase properly Based on the measurements, one can purchase the WETTRACT and the Accessories required along for use. It’s preferable to buy a set of Ezmark Marker & Foam Duster along to write & erase properly Don’t just Buy, If you are thinking BIG then Ideate it BIG and write it BIG on a BIG whiteboard..! Choose your size as per your convenience.Because sometimes SIZE MATTERS!!!.

Read Less…

Pre Installation Steps: Mandatory Checks

  • Ensure the surface is suitable for WETTRACT Whiteboard Films. The surface should be smooth, Plain, non-absorbent, and clean.
  • To get best results in terms of look, the surface should be as smooth as possible and must be dust free, clean and free from oil and grease. Irregularities in the surface such as texture, bumps and unevenness will be visible though after application of the product hence remove it prior to the application.

Read More…

  • Product will not adhere to unclean or textured surfaces. Allow newly painted surfaces to fully cure for a minimum of a week before applying Peel and Stick Wallpaper.
  • The best wall texture for applying WETTRACT Whiteboard Sticker successfully is a smooth, properly primed, painted and cured wallboard with little or no surface variation.
  • It is important to repair any damage on the existing wall before installation, such as loose paint, damaged, cracked or inconsistent surfaces.
  • Failure to do so may result in your WETTRACT Whiteboard not sticking to your wall correctly, or could potentially cause damage when removing your wallpaper.
  • So what exactly do you need to know about our self adhesive Whiteboard Film?
  • Before you begin installing your peel and stick wallpaper, prepare your surface and clear the work area. Make sure electrical outlets are off and remove wall fixtures. For best results, clean and properly prepare all wall surfaces with a sponge/Cotton Cloth and all purpose cleaner. Ensure all painted walls have been processed and cured as per the paint manufacturer’s requirements. Failure to follow the paint manufacturer’s requirements may lead to adhesion or removal issues.

Read Less…

Installation Steps

1). Package you recieve

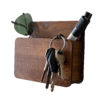
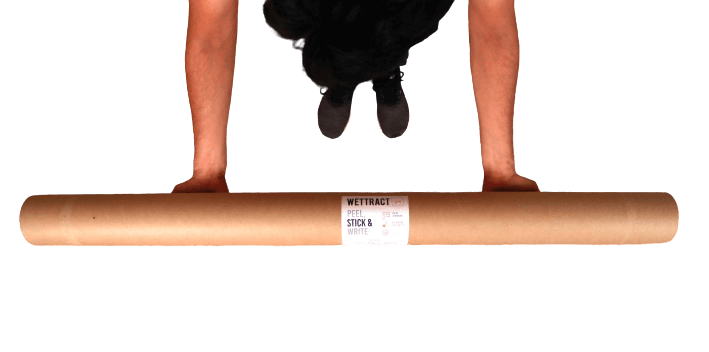
As we receive orders from you, the package shown will be received by you at your doorstep.Choose wisely as returning this product is equivalent to returning & delaying your ideas of lifetime.
Obviously tones of Love from Team WETTRACT.

2). Inside the Package

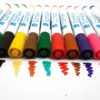
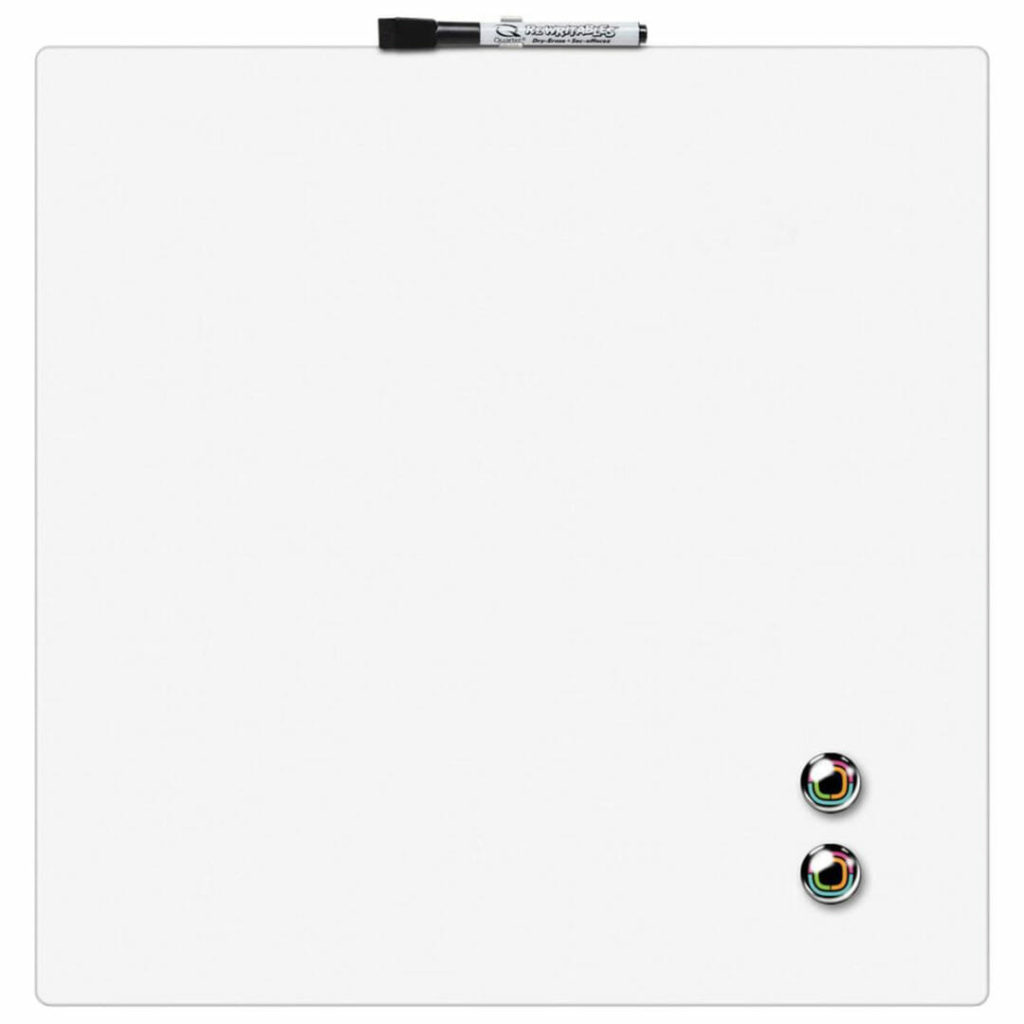
The INDIAN Crafted WETTRACT Whiteboard Sheet you ordered & a Squeegee along with the accessories that consists of Multicolor Markers and Erasers etc.

3). Unboxing the Roll

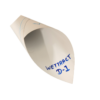
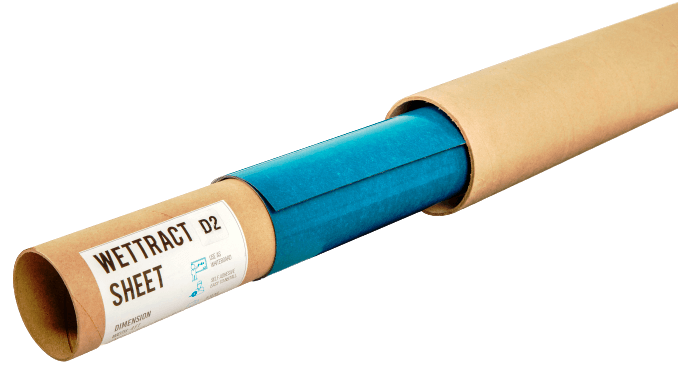
WETTRACT Whiteboard stickers are available in form of rolls of various dimensions. Unroll the sticker on to your wall of your wish.

4). Peeling off the Roll

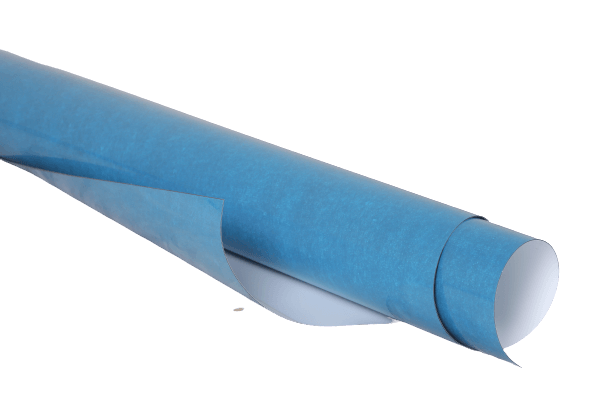
WETTRACT Whiteboard sticker comes with a backline layer which is supposed to be removed in order to access the sticky area. Sticky area will be applied to wall. Complete procedure is also described in further steps.

5). General Installation

WETTARCT can be applied on any surface that is clean, smooth and dry. Its use isn’t restricted to walls or wood. One can even use peel and stick whiteboard sticker as an alternative covering on a stained or a damaged area. Since it can be applied to various types of surfaces including paint, glass, metal, plastic and tiles. Self-adhesive whiteboard sticker can be used even in kitchens and bathrooms that are prone to moisture. However, care should be taken to seal the edges to ensure that water doesn’t get trapped between the wall surface and the adhesive paper.

Read More…

The process of applying WETTRACT Whiteboard is similar to that of regular Self Adhesive Stickers. Before installation, one needs to choose the type of WETTARCT Sticker that is best suited for your requirement & the area on which it will be applied. Inspect your new WETTARCT Whiteboard Sticker for any shipping damages. Any damage incurred during shipping must be reported to us within two business days. Once this is decided, these steps can be followed:
  1. Assess the area where the WETTRACT Whiteboards will be applied to see if it requires trimming. For example, when using WETTRACT – peel and stick whiteboard sticker for compact spaces, it should be trimmed so that it fits over the fit-outs or electrical points. Before trimming, it’s advisable to mark the exact dimensions at the back of the WETTRACT.
  2. WETTRACT Whiteboard is now ready to be fixed on your chosen surface. All that needs to be done is to remove the adhesive sheet or back lining initially for about 12 cm from one end & unroll remaining width of the roll on the surface you want to stick on such that you place it precisely as per your required alignment without removing the whole adhesive backing.
  3. Once you get the perfect alignment as per your requirement. Stick the already peeled 12 cm of WETTRACT from centre at any of one end.
  4. Unroll the remaining WETTRACT back in such a way that a person hold the sheet in one hand & peel the backing using other hand.Though it is always advisable to perform this task by atleast two persons in order to avoid human errors.
  5. Hold the squeegee between a 50- and 70-degree angle and position the film where you want.
  6. Remove the backing uniformly along the width of the film, 8-10cm at a time,as slowly as possible. Use the Microfiber or squeegee or scraper to press the Whiteboard film evenly onto the surface, ensuring no air bubbles are trapped.
  7. Apply the film gently and evenly along the surface, pulling the backing away as you go.
  8. If you do find an air bubble, peel the material back gently, remove the air bubble and continue
  9. Take care to be gentle so that the WETTARCT top surface doesn’t get scratched or torn. It’s better to take help of an another person to prevent creasing as it is less likely to get crinkle compared to doing it individually.

Read Less…

To know more details click on below given links accordingly.Refer below given table according to your surface specific application.

Surface Specific Application

Product/ Surface

D1

D2

D3

DM

DT

MB

Painted Wall

DRY

DRY

DRY

DRY

DRY

DRY

Wood

DRY

DRY

DRY

DRY

DRY

DRY

MICA

WET

DRY

DRY

WET

WET

DRY

MDF

DRY

DRY

DRY

DRY

DRY

DRY

Acrylic

WET

DRY

DRY

WET

WET

DRY

Gypsum

DRY

DRY

DRY

DRY

DRY

DRY

Glass

WET

DRY

DRY

WET

WET

DRY

Installation Complete 🙂

Installation Complete 🙂

Before you proceed.Please fill the form below.

Before you proceed.Please fill the form below.

Dealer Inquiry

Get Discount

0
YOUR CART
  • No products in the cart.